
Week 1
To start of this project I went through the image sets that were available on drop box . Looking through I was able to find one that interests me.


The first step after picking my images was to begin matching the camera. Looking at the metadata of image set 2 I was able to find that it was shot on Canon EOS 80D with a 73mm lens. After some quick searching and calculation I was able to determine that the camera has a 1.6 crop factor, making the actual focal length 116.8mm.
Now knowing the actual focal length I was able to start matching the scene in Maya.
I was able to match the camera pretty quickly, but the lighting has been a little tricky.
The image set did include a HDRI but it appears to have been shot with a 360 camera and not a mirror ball so it is harder to align with the scene because I don’t have any direct reference for it’s orientation. I looked around the HDRI and eyeballed where it was based on the location of the chair legs.
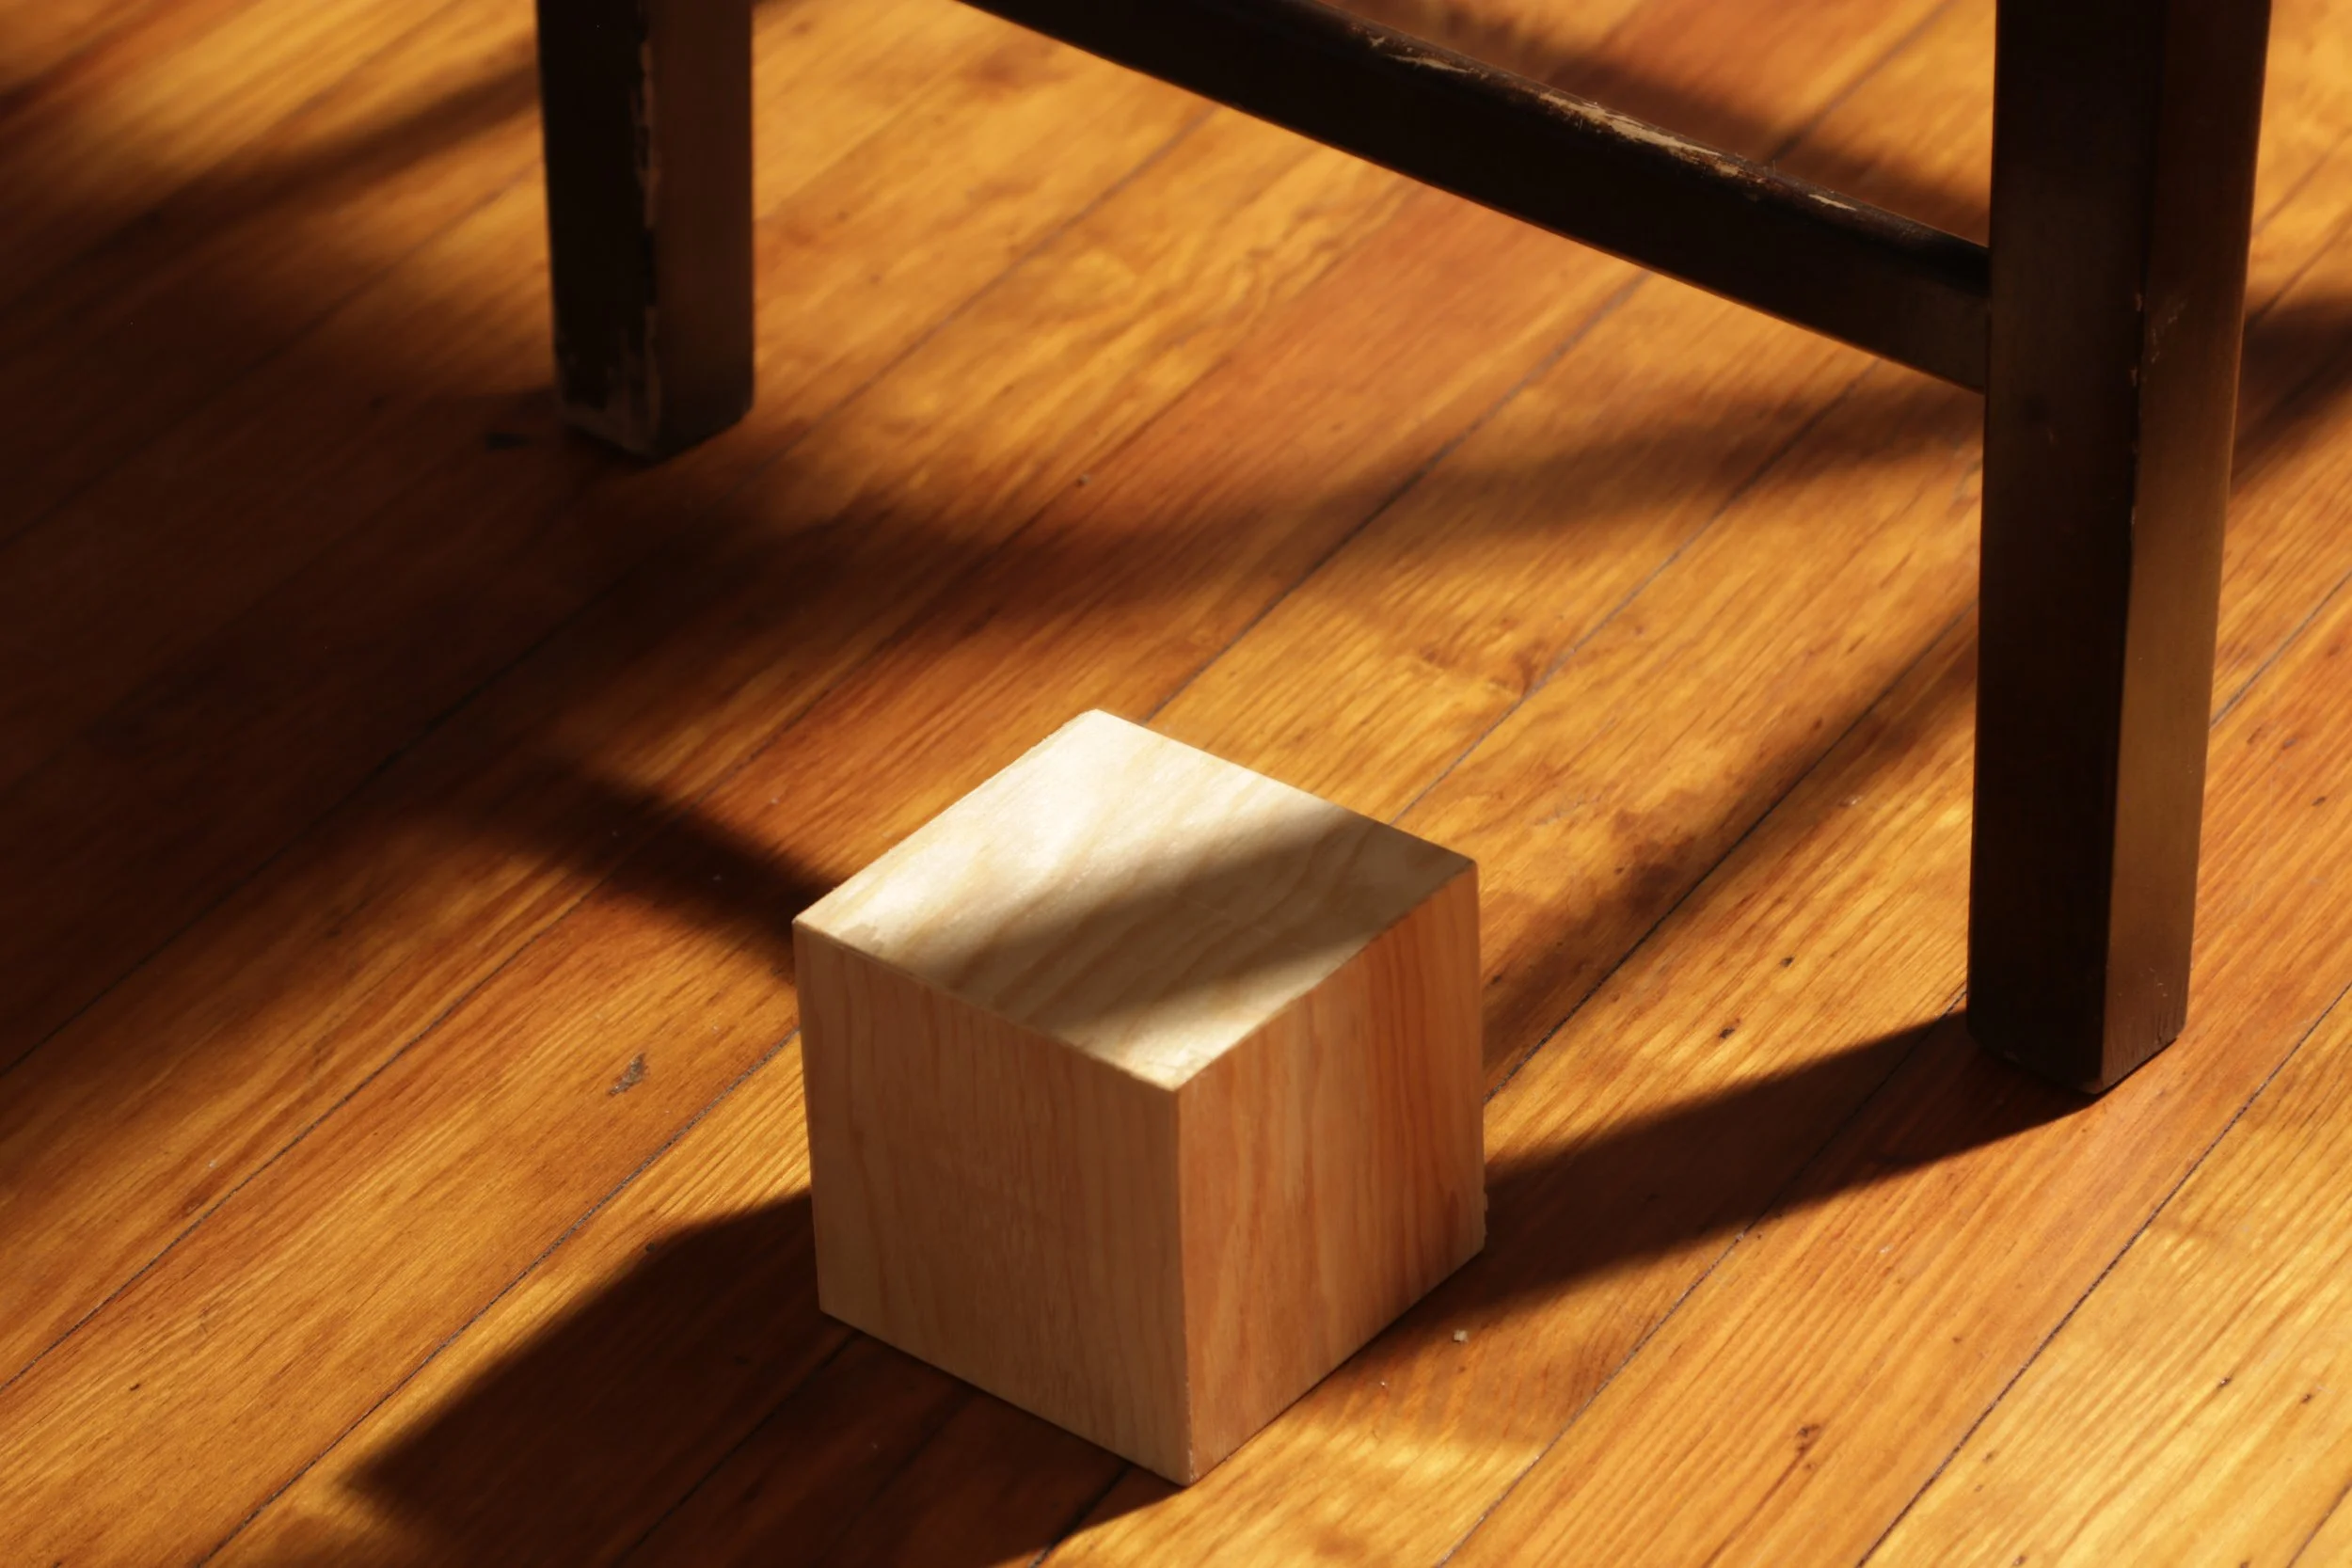
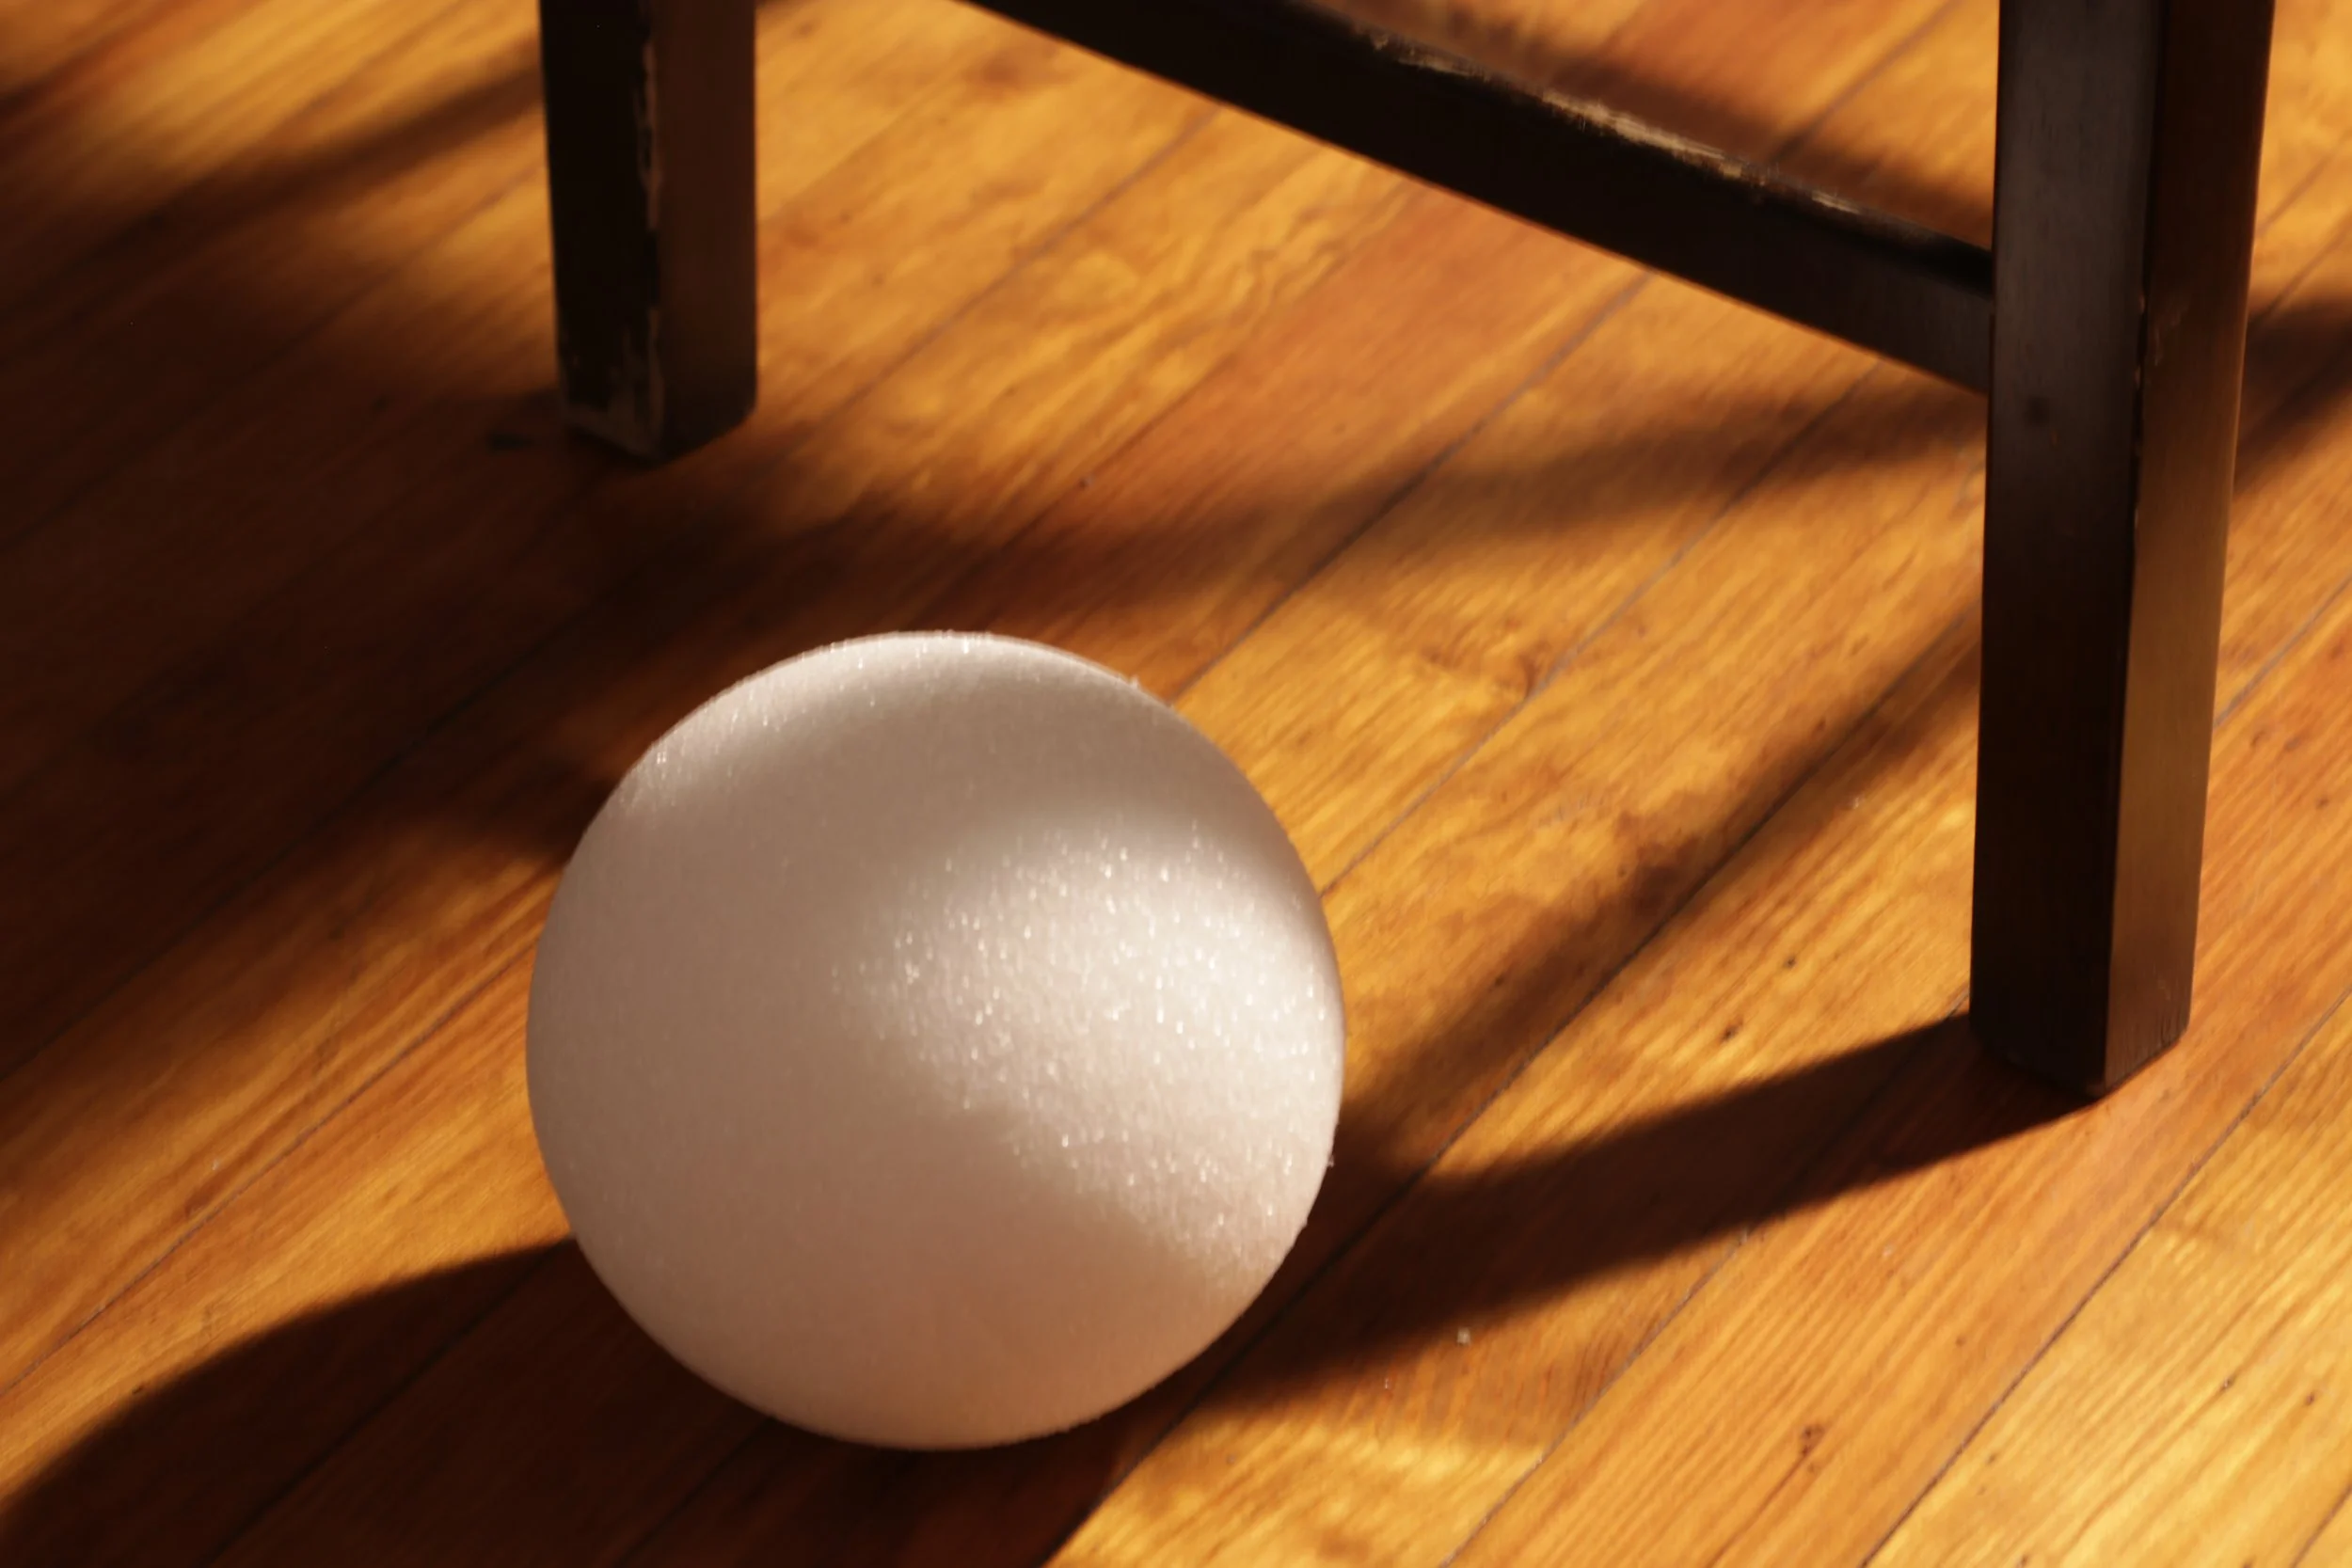
I positioned the key light and created sperate render layers for the beauty pass and the shadow pass.
I did a quick render and slap comp to see how this would work together.